How to Sew Leather - Project 1 - Japanese Obi Belt
I had to do a bit of revising to this article! A reader brought it to my attention that certain info was missing, like what tension setting, stitch length, etc. Dah! Of course I should have mentioned all this. Just like I said in the very first article. I would probably miss things like that because my machine is already set to the heavy stuff and I rarely think about it. So let's go over this one more time. Or as many times as needed so that everyone gets a better idea of how to sew leather.
This lesson is going to jump off assuming you've already got all of the things you'll need to sew leather from an earlier article in my blog. So for this project we have some pebble grained leather. You are using a leather needle only. This is how to make a Japanese Obi Belt. It's very easy to make. If you managed to get a piece of lambskin or pigskin and it's softer than you'd like it to be, it's okay to add a stiff interfacing or fabric backing if you like. Since I'm using cowhide to demonstrate this project, it's already as stiff as I'd like it to be. Keep in mind, my sewing machine is an industrial model, so it can sew thicker leathers. It's already set for leather and has an automatic tension. If you're using a home machine, you might want to stick with the softer leathers that I mentioned in my first article. This lesson will also assume you know how to sew. This belt will fit a size S to M.
There are many ways to make an obi belt. I encourage you to explore other ways to make your belt in a design that suits your style. Me. I don't embellish leather much. I rarely use linings or backings. I prefer it raw and natural looking. However, once you're gotten the gist of it, seen how easy it is to do, you can embellish with leather flower, metal studs or even buttons to achieve different looks.
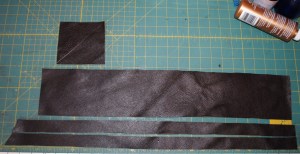
Here I have cut out 4 pieces of leather.
4 x 4 in square 4 x 24 in rectangle (2) 1 x 24 in strips
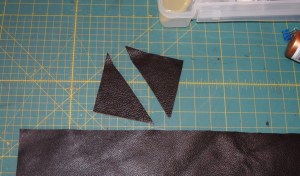 Cut the 4 x 4 square on the diagonal. Now you have two triangles that go on each end of the 4 x 24 in rectangle.
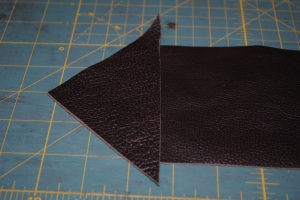 One triangle is glued all the way across the end of the rectangle. Use the Aleene's glue for this project.
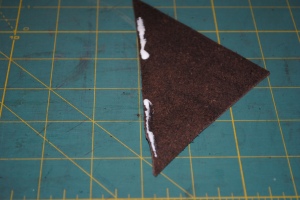 For the second triangle, you want to leave an 1 1/2 in gap in the middle that your strips can fit through.
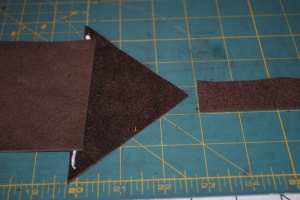 Try to be neat with the glue but don't worry about the excess right now. Make sure that the triangle is overlapping the 4 x 24 in rectangle. This is where we will make our nice neat connections with the sewing machine.
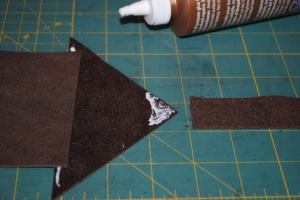 Now glue the 1 x 24 in strips to both end points on the belt. Make sure the point is overlapping the strip just as the triangle is also overlapping 4 x 24 in rectangle.
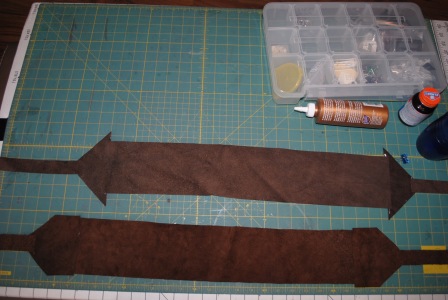 I was working on two different belts at the time. .
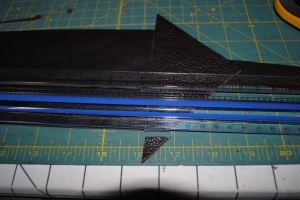
Now you can cut off those funny little tips at both ends of the triangle to make everything flush even.
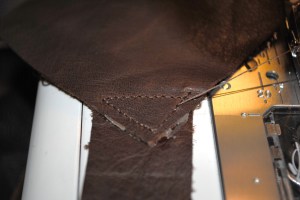
Here's where I sewed the leather strip to the point in a triangle formation, just to be sure it was secure and supported on all sides. Start your tension at 3 or 4 and try sewing a test piece first. Notice if it looks great on the top and loopy at the bottom, increase your tension in increments until the loopy bottom goes away and you have a nice even stitch on both side. For sewing most leathers you really want to use a larger stitch length, 3 to 4 is the range I stay in. Any lower and you may cause the leather to perforate and it may split over time. Any higher and the thread may loosen over time. Be sure that your glue is completely dry before you begin stitching as it will gum up your needle and thread causing your stitches to look shabby. As for speed. Set your machine to the lowest speed until you get a feel for the particular type of leather you're working with. It's important to be patient and go slow because any needle hole you put in leather is in there forever. So this has to be done right the first time. If your leather is thick and your sewing machine is not industrial or industrial strength, you may have to go a little bit faster just in hopes that your machine will have the strength to pierce a thicker leather. Two factors will help. Completely dry glue will act as a stabilizer giving you smoother stitching. And a leather needle is a must in this situation.
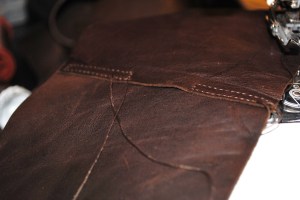 Here's where I closed up one of the points leaving that 1 1/2 area opened for the strip to fit through.
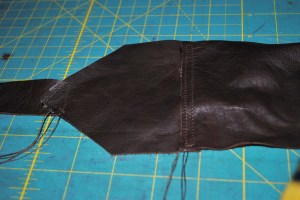
On this end I sewed the entire side closed. Only one side will need a slit for the strip to fit through. It doesn't matter which side you choose.This is where you can also take a moment to fit the belt and adjust the strips to a shorter length as needed.
You're almost done. All you need to do now is a finish. Here's where you cut off all the excess threads and pull away all the dried up glue. The glue was used to hold everything in place so that you could sew it evenly. Once you put in the stitching, the thread will hold everything in place, so do a good clean up job on the dried glue.
[caption id="attachment_736" align="aligncenter" width="1024" caption="Japanese Obi Belt - Bittersweet Chocolate"]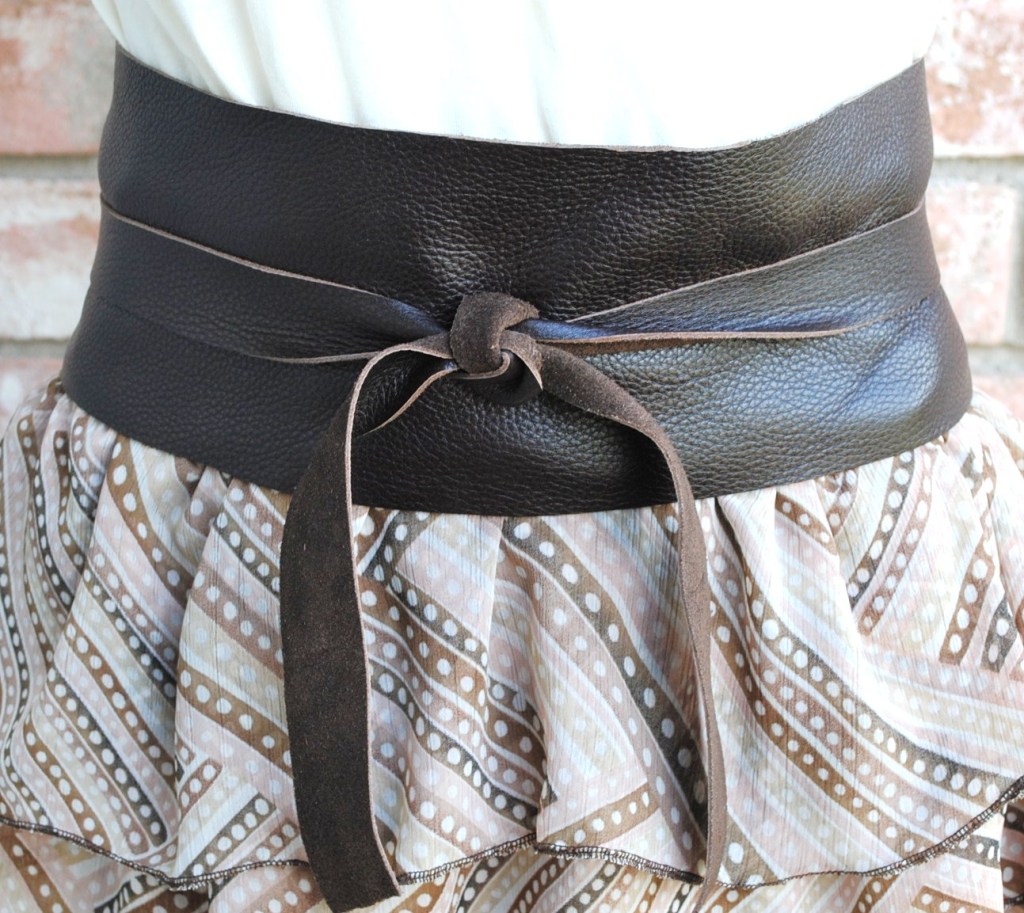 [/caption]
Here's what one of my belt look like once finished. Gorgeous. You can click on this picture to see it on my site.
If you have any questions feel free to ask. As you can see, this doesn't take a lot of leather to make, but I did used a high-end leather because I wanted something with a gorgeous grain. Even though the picture shows two different leathers, how I made this belt was the same for both of them.
One last tip about sewing with leather... I have been able to surge the edges, using my serger sewing machine, of the thinner leathers like lambskin and pigskin. It usually will cost me a needle or two in the process, so have extras on hand if you're the courageous sort that will dare anything. (like me). Just be aware that it could actually perforate the leather and split over time. Be sure that you use Aleene's glue as a stabilizer. This may help offset future splitting and make the entire seam stronger. Thank you.
SharonH
 Cut the 4 x 4 square on the diagonal. Now you have two triangles that go on each end of the 4 x 24 in rectangle.
 One triangle is glued all the way across the end of the rectangle. Use the Aleene's glue for this project.
  For the second triangle, you want to leave an 1 1/2 in gap in the middle that your strips can fit through.
  Try to be neat with the glue but don't worry about the excess right now. Make sure that the triangle is overlapping the 4 x 24 in rectangle. This is where we will make our nice neat connections with the sewing machine.
  Now glue the 1 x 24 in strips to both end points on the belt. Make sure the point is overlapping the strip just as the triangle is also overlapping 4 x 24 in rectangle.
 I was working on two different belts at the time. .
  Here's where I closed up one of the points leaving that 1 1/2 area opened for the strip to fit through.
 [/caption]


No comments:
Post a Comment